

Updated on: 2026-09-16
Upgrading your lighting is one of the simplest ways to travel with more confidence and comfort. LED lights for caravans and trailers deliver brighter, more reliable illumination while using less power than many older options. They also tend to handle bumps, vibration, and weather better, which matters when you are on the road. If you want safer driving, easier setup at the campsite, and a cleaner look, LED lighting is a practical next step.
LED lights for caravans and trailers: better visibility, less hassle
When you pull away from home, lighting is easy to overlook. Then dusk arrives, a campsite is darker than expected, or you need to check a connection near the tow point. That is when dependable illumination becomes a safety feature, not just an upgrade.
This guide focuses on what matters most when choosing LED lights for caravans and trailers: correct fit, the right brightness, stable power draw, and durable performance across vibration and weather. You will also find practical installation tips and a simple buying checklist so you can pick a setup that suits how you actually travel.
If you want to explore broader LED options and lighting packages, you can also browse the selection on lighting packages at LightComm. It is a helpful way to see how lighting components can work together.
Common Mistakes
Many caravan and trailer owners start shopping and only later realize the lighting will not behave the way they expected. Here are the most common pitfalls to avoid.
Choosing brightness without considering beam type. A “very bright” light can still be unhelpful if the spread is too narrow or too harsh for close inspection.
Ignoring power draw and wiring limits. Some setups may work at first but strain your system over time, especially if you run other cabin or charging accessories.
Buying without checking mounting compatibility. If the light does not match your existing holes or housings, installation becomes messy and can affect weather sealing.
Underestimating vibration. Trailers move. Loose hardware and weak connections can cause flicker, intermittent output, or early failure.
Forgetting legal or fitment considerations for external lights. Even when the product is quality, you still want it to be appropriate for the intended position and use.
Skipping weather protection. Moisture and dust can shorten the life of non-sealed electronics.
Buyer’s Checklist
Use this quick checklist before you purchase. It helps you avoid returns and ensures your lights perform in real travel conditions.
Match the location: confirm whether the light is for exterior towing visibility, interior cabin use, step lighting, or reversing-style tasks.
Check the beam pattern: look for a spread that supports both safety and practical viewing at night.
Verify voltage and compatibility: confirm it suits your caravan or trailer electrical system.
Choose durable housing: prioritise sealed, vibration-resistant construction for road use.
Plan your wiring: route cables away from sharp edges and moving parts, and keep connections protected.
Consider heat management: stable LEDs maintain output and longevity when heat can escape properly.
Think about brightness balance: aim for clear visibility without blinding glare for other drivers or campers.
If you already know which lighting categories you need, you may also want to compare categories like LED spotlights, lightbars, and warning lights. A useful starting point is LED spotlights, where you can compare styles and intended use.
How to Choose the Right LED Lights for Caravans and Trailers
LED technology can look similar on product pages, but performance depends on details. Use these selection points to narrow down your best match.
1) Decide what problem you want to solve
Start with the scenario. Is the issue poor campsite visibility? Are you struggling with reversing or checking connections? Or do you need a stronger look for side visibility during travel? When you define the goal, choosing the right light type becomes simpler.
2) Look for stable output, not just maximum brightness
Real-world travel adds vibration, temperature changes, and power fluctuations. A quality LED setup should deliver steady illumination without noticeable flicker. That stability helps you feel confident during night stops.
3) Confirm beam spread and mounting options
For close inspection around doors, steps, or tow areas, you often want a comfortable spread. For wider safety coverage, you need a design that reaches farther without creating glare. Mounting options also matter: surface-mount styles can be easier to retrofit when your existing fixtures are limited.
4) Balance efficiency with brightness
LED lights typically use less energy than many older bulb types. That is a practical benefit when you are running cabin lights, charging, or powering devices at the same time. The goal is to get brighter visibility while keeping your system stable.
Icons showing brightness, beam spread, and mounting fit
5) Choose a weather-ready construction
Caravans and trailers face rain, splashes, dust, and road grime. Sealed housings and weather-resistant materials help protect the electronics and keep output reliable over time. If your route includes coastal weather or frequent washdowns, this point becomes even more important.
Installation Tips That Reduce Headaches
You do not have to be an electrician to upgrade lighting, but good installation habits prevent most common problems. Follow these steps to improve reliability.
Plan the routing before cutting anything: measure the path from power source to each light and keep cable runs away from sharp edges.
Use proper connectors and secure fasteners: vibration can loosen weak connections, so tighten and secure mounting hardware correctly.
Protect connections: cover exposed joints and avoid placing them where water can collect.
Test before final fixing: power the system briefly, confirm each light turns on as expected, then complete mounting.
Label circuits: simple labels make future troubleshooting far easier.
If you prefer a guided approach, you can also explore how different lighting components work together in the LightComm story to understand the brands and lighting categories available. While the best fit depends on your trailer design, learning how products are grouped can help you plan a cohesive upgrade.
What Better Light Feels Like
Once installed, the difference is not subtle. You notice it when you close the doors, step out at night, or check a coupling area under a dark tow bar. Even short stops feel easier when visibility is consistent.
Quality LED lighting also supports a calmer workflow. Instead of fumbling for a torch, you can rely on the illumination around the areas you use most. That reduces the time you spend outside in low light and helps you keep movements safer.
A comfort-focused upgrade
Many owners describe the improvement as “less annoying at night.” That is the value of a light that is bright where you need it, controlled where you do not, and stable under travel conditions.
Maintenance and Durability: What to Expect
LED technology is known for long life, but durability still depends on setup and environment. Here is what to expect and how to keep your upgrade performing.
Routine cleaning: remove dirt and road film from external lenses. This helps light output and reduces glare from grime.
Check mounts periodically: after long trips, confirm brackets and screws remain tight.
Inspect wiring paths: look for pinched cables or worn insulation, especially near moving parts or tight corners.
Test occasionally: turning lights on briefly lets you catch early connection issues before you need them.
When lighting is properly installed and sealed, it is usually a “fit-and-forget” upgrade. You still benefit from small checks, but you spend less time troubleshooting bulbs or replacing elements.
Real-World Use Cases and Testimonials
Below are realistic examples of how owners use caravan and trailer LED lighting upgrades. While every setup differs, these themes repeat because they solve everyday friction points.
Case 1: Night campsite setup made easier
A frequent caravan user shared that after switching to LED lights, arrivals at campsites felt calmer. They stopped relying on a handheld torch and could find latches and steps more quickly. The result was smoother setup and fewer rushed movements.
Case 2: Safer checks during travel stops
Another owner described clearer visibility when checking connections near the rear. They also noted that the lighting stayed consistent after multiple trips in changing weather. That stability helped them feel more confident when they needed to inspect and adjust.
Case 3: More efficient power use for extended trips
Owners who run multiple accessories tend to care about power consumption. Many report that LED upgrades help them keep the system healthier during longer stays, especially when using interior lighting more often.
If you want more inspiration for durable LED performance on demanding equipment, you can read related guides such as how LED light bars boost productivity on farm equipment. The same principles—reliable output, controlled beams, and robustness—apply to travel and trailer use.
Trail map with night icons and step-by-step upgrade arrows
Upgrade Paths for Different Trailers
You do not have to buy everything at once. Choose an upgrade path based on what you notice first.
Start with the areas you touch most
If you often operate the trailer in darkness, begin with lights that improve the “step and access” zones. Clear visibility around entry points makes daily use feel easier.
Add visibility for towing and external checks
Next, upgrade external areas that help with safe inspections. Better illumination can reduce uncertainty when you stop at night and need to look closely.
Finish with a balanced system
Once the critical areas are upgraded, refine the rest of the setup so the overall look and brightness are consistent. This helps avoid the “one bright light, everything else dim” problem.
FAQ
Will LED lights for caravans and trailers work with my existing wiring?
In many cases, LED upgrades can be fitted to existing setups, but it depends on voltage, connector type, and mounting compatibility. Before purchasing, confirm the product specifications match your electrical system and that the light style suits the mounting points you have on your caravan or trailer.
Are LED lights bright enough for campsite tasks?
Yes, when you select the right beam spread for close-range tasks like finding steps, checking latches, and inspecting connections. Brightness alone is not the only factor—beam pattern and controlled glare help you see comfortably without making the area harsh.
How do I keep my trailer LED lights performing long-term?
Make simple checks part of your routine: clean the lens when dirt builds up, verify mounts are secure after long drives, and inspect wiring paths for wear. Occasional testing also helps you spot issues early.
Do LED lights reduce power draw compared to older bulbs?
LED technology is typically more efficient, which can reduce energy usage. This can be beneficial when you use interior lights, charge devices, or spend extended periods camping. Always compare power consumption specifications to ensure the setup fits your system capacity.
Wrap-Up & Final Thoughts
Upgrading to LED lights for caravans and trailers is a practical way to make travel safer, more comfortable, and easier to manage at night. By choosing the right beam style, verifying electrical compatibility, and installing with solid connections and protection, you can enjoy stable illumination across road conditions.
If you want to shop with confidence, focus on quality features that support durability: sealed construction, vibration resistance, and thoughtful mounting options. Then build your upgrade in stages—start with the areas you use most, add visibility for external checks, and finish with a balanced system.
Ready to brighten your next trip? Explore LED lighting options at LED light bars and related categories on LightComm to find a configuration that matches your needs.
Disclaimer: Lighting fitment and performance can vary based on trailer design, electrical configuration, and installation practices. Always follow manufacturer instructions and any applicable local rules for external lighting. This article provides general guidance and does not replace professional advice.
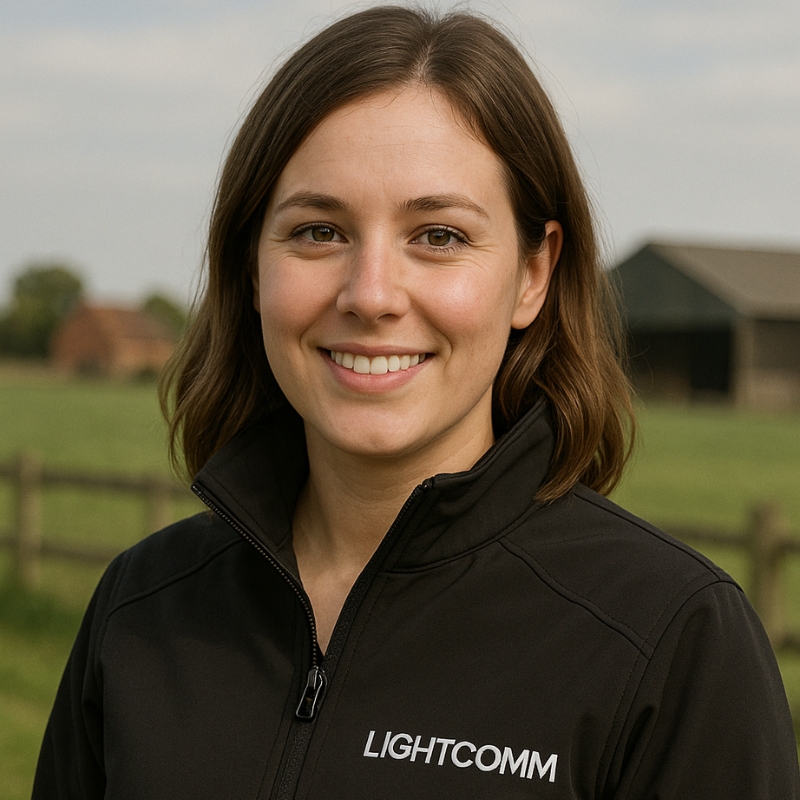
Orla Murphy writes for Lightcomm.ie, where she mixes farm life, tech talk, and a healthy dose of caffeine. When she’s not testing new lights or chatting with farmers, she’s probably wrangling her dog out of a muddy field or trying to convince her neighbours that radios are still cool.