

Updated on: 2026-11-11
Working on the farm after dusk can cost you time, focus, and safety. LED solutions for farming equipment are built to cut through darkness with clear, consistent illumination. The right lighting upgrades also help you spot hazards sooner on wet ground, uneven fields, and busy yard areas. In this guide, you will learn how to choose the best LED setup, how to install it thoughtfully, and how other operators use it to work more confidently.
- Pros & Cons of LED Lighting for Farming Equipment
- Step-by-Step Practical Guide to Choose and Fit LED Systems
- Use Cases: Where LED Upgrades Make the Biggest Difference
- How to Choose the Right Beam, Rating, and Mounting
- Wrap-Up
- Q&A
Pros & Cons of LED Lighting for Farming Equipment
LED lighting is popular for a reason: it solves real day-to-day problems. Operators often struggle with dull halogen bulbs, inconsistent output, and lighting that fails under vibration. Modern LED solutions for farming equipment are designed to handle farm conditions while improving visibility.
Pros
Brighter, clearer visibility: LED work lights and headlights can deliver strong light patterns that help you see obstacles, depth changes, and livestock movement.
Better efficiency: LED lighting typically uses less power than older bulb types, which can help when your alternator is already under load.
Long service life: LEDs are built for frequent use, with less frequent replacements than many traditional options.
Quicker response: Switching is instant, which matters when you change direction, hitch equipment, or work near fences and hedgerows.
More control over beam shape: You can match spot, flood, and headlight-style optics to the task, rather than relying on one generic beam.
Farm-ready construction: Many LED units are designed for dust, vibration, and moisture exposure, helping them survive rough use.
Cons
Not every light is the right match: If you choose the wrong beam pattern or mounting location, you may get glare or weak coverage.
Electrical planning matters: Correct wiring, fusing, and compatible control options are essential for safe operation.
Installation time: Even a straightforward upgrade can take longer if you need clean cable routing around existing harnesses.
Local regulations: Headlight-style upgrades may require attention to aim and legal road use rules depending on vehicle type and region.
Step-by-Step Practical Guide to Choose and Fit LED Systems
If you want results you can feel immediately, follow a simple selection and installation process. This approach helps you avoid common mistakes, reduce downtime, and get a lighting pattern that truly supports safe work.
Step 1: Identify the tasks and the lighting gaps
Walk through your most common night or low-visibility jobs. For example, do you mainly need better yard visibility for docking and loading? Or do you need long-distance illumination for field work? Note where the current lighting fails: on the far edge of the field, around the implement, or near the ground where hazards appear.
Step 2: Choose the right type of LED output
Match light type to purpose. Work lights often focus on broad coverage for nearby tasks. Spot-style beams help with distance. Headlight-style upgrades can support forward driving visibility. A complete lighting package can also coordinate different beam styles so you are not relying on one narrow light.
Step 3: Plan placement for natural sight lines
Mount lights where your line of travel and your implement work overlap. Think about glare to oncoming directions (if applicable) and reflection from mud or wet surfaces. Good placement usually beats high brightness with poor positioning.
Diagram of beam angles and mounting positions
Step 4: Confirm power, wiring, and switching
LED systems still need proper electrical support. Use appropriate fuses and wire sizing, and choose switching that fits how you operate. Some setups use plug-and-play style components, while others use harness kits. If you plan to upgrade multiple areas, think about whether you need separate controls for work mode versus travel mode.
Step 5: Protect the wiring and ensure secure mounting
Route cables away from moving parts, sharp edges, and heat sources. Use secure clips and strain relief where needed. Vibration is normal on tractors and machinery, so mounts should be tight and stable before you begin work.
Step 6: Test in real conditions and adjust aim
Test the system in a safe area at night. Check the pattern on the ground and adjust the aim to avoid excessive glare. If you use headlight-style units, confirm that the beam reaches where you need it without washing out important detail.
When you follow this process, you get a lighting setup that supports safer movement and smoother fieldwork. If you want to explore lighting packages built for agricultural use, you can browse options here: lighting packages.
Use Cases: Where LED Upgrades Make the Biggest Difference
LED upgrades are not only for “serious night work.” They help on any schedule when visibility drops, whether it is early morning fog, late evening tasks, or winter yard routines.
Case 1: Better implement visibility during cultivation and loading
When you can clearly see the implement edges, you reduce guesswork. A balanced beam pattern helps you line up passes, spot ground changes, and avoid contact with posts, rocks, or buried obstacles.
Case 2: Enhanced headlight-style forward visibility for safer travel
Headlight-style LED solutions can improve how quickly you detect road edges and yard obstacles. This can be especially helpful when moving between fields or returning from tasks after dark.
Split-scene: field edge hazards under clear light
Case 3: Stronger working area lighting for repairs
Quick fixes often happen under pressure. Bright, even lighting improves your ability to inspect connections, find tools, and work without straining your eyes.
Case 4: Durable yard and workshop lighting for daily use
Yard tasks may be short, but they are frequent. LED work lights and compatible beacons can support quick loading, unloading, and safe movement around equipment.
Operator testimonials
“The difference was instant.” We installed a proper LED setup and the beam made it easier to see the ground edge when working near hedges. Our night routine feels less stressful.
“No more chasing replacement bulbs.” After switching to LED lighting, we spent less time swapping parts and more time using the equipment. The output stayed consistent through repeated use.
“Clear light, cleaner control.” We liked being able to separate work lighting from travel lighting. That helped our crew adjust quickly when tasks changed.
If you are upgrading on an older machine, start with the biggest visibility gap first. Many operators begin with work lighting, then move to headlight-style improvements and additional signal lighting when they want a more complete solution.
How to Choose the Right Beam, Rating, and Mounting
Shopping for LED solutions for farming equipment can feel overwhelming because products vary in beam pattern, mounting style, and electrical requirements. Use these factors to narrow your choices.
Beam pattern: flood vs spot vs headlight-style
Flood or wide beam: Best for nearby tasks, tool handling, and implement areas.
Spot or long-range: Best for distance visibility such as field edges and far targets.
Headlight-style optics: Helps when you need forward travel illumination with a more controlled pattern.
Light output and practical visibility
Higher brightness is useful, but practical visibility depends on beam shape and mounting height. If you place a high output light in the wrong spot, you may get glare without useful detail. Aim for coverage that matches your work zone rather than maximum brightness alone.
Durability ratings for farm environments
Look for designs intended for vibration and exposure. Dust, rain, and washdown routines are normal on farms. Choosing robust lighting reduces the risk of early failure.
Mounting compatibility and secure fitting
Check whether your lighting requires specific brackets or fitment. If your machine has limited mounting space, consider compact units or systems built for existing light locations. Secure mounting also protects wiring from wear over time.
Quick product examples to consider
To make it easier to match lights to your needs, here are a few relevant categories you can explore on Lightcomm:
LED work lighting for nearby tasks and implement zones.
LED headlights for forward visibility improvements.
LED light bars when you want wider coverage on compatible mounting points.
built-in headlight set options where you want a cleaner, integrated look.
Want a guided starting point? Many operators begin by upgrading head and work zones together so their lighting patterns complement each other. This is often more effective than adding one bright light without coverage balance.
Wrap-Up
Upgrading to LED solutions for farming equipment helps you work with better visibility, safer movement, and less downtime. The key is not just brightness. Choose the right beam for the job, plan your mounting for clear sight lines, and ensure your wiring and controls are done correctly. When you do that, you get lighting that supports daily tasks from yard work to field operations.
If you are ready to improve your setup, browse farm-focused options at Lightcomm and pick components that match your beam needs and mounting realities. Start with the lighting gap that slows you down the most, then build toward a complete system.
Call to action: Visit LED light bars or LED work lighting to find a setup that fits your tasks. If you want a more coordinated approach, explore lighting packages and build a solution step by step.
Q&A
How do I know which LED lights to buy for farming equipment?
Start with your biggest visibility problem. If you struggle to see nearby hazards, choose wide work lighting. If you need to spot targets farther away, add spot or long-range optics. For forward travel support, consider headlight-style lighting. Then match placement and switching to how you actually operate.
Will LED lighting improve safety during early morning or late evening work?
Yes, better illumination helps you detect uneven ground, equipment edges, and obstacles sooner. LEDs also provide more consistent output than older bulb types, which can reduce the chance of working with weak or failing lights.
What should I check before installing new LED lights?
Confirm compatibility with your machine’s mounting points, plan cable routing, and use appropriate fusing for safe operation. Test the beam pattern after installation and adjust aim if needed to reduce glare and ensure useful coverage where you work.
Are there benefits to upgrading multiple light zones at once?
Often, yes. When you combine forward lighting, work lighting, and—if needed—additional signal visibility, your lighting patterns work together. That can make it easier for a crew to switch between travel and job modes without confusion.
Disclaimer: Lighting upgrades should be installed and adjusted by a qualified person where appropriate. Always follow the manufacturer’s instructions, use correct fusing and wiring, and check local road and safety regulations for any equipment used in public areas.
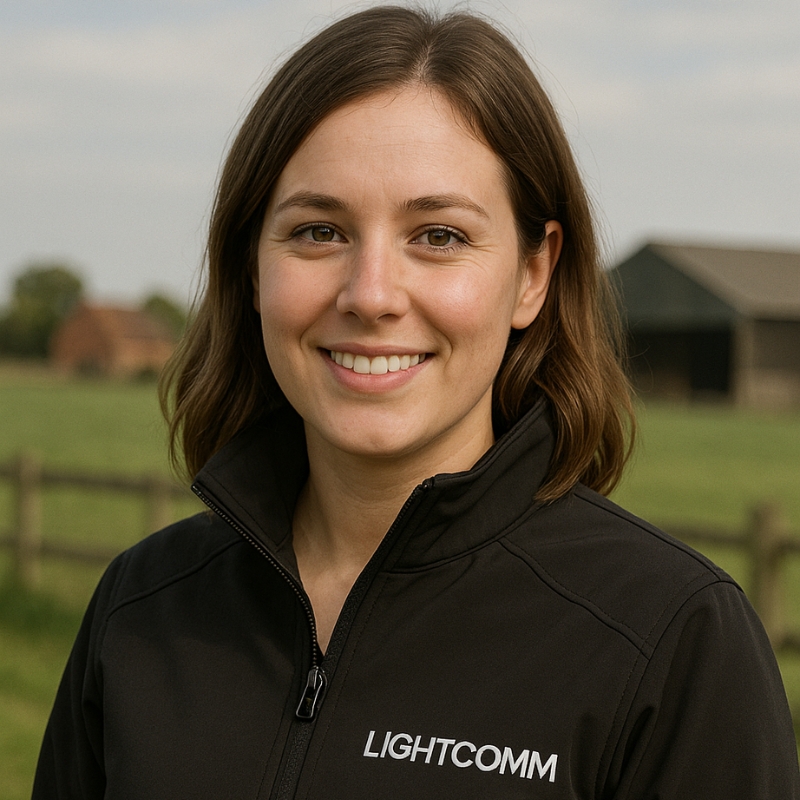
Orla Murphy writes for Lightcomm.ie, where she mixes farm life, tech talk, and a healthy dose of caffeine. When she’s not testing new lights or chatting with farmers, she’s probably wrangling her dog out of a muddy field or trying to convince her neighbours that radios are still cool.