

Updated on: 2026-10-21
Working outdoors means light is not a luxury, it is a tool. With the right LED floodlights for agricultural tasks, you can see hazards sooner and stay productive after sunset.
This guide shows you how to choose the right brightness, beam pattern, and mounting setup for fields, barns, loading bays, and workshops.
You will also learn practical setup steps, safety checks, and ways to protect your investment in rough farm conditions.
By the end, you will know exactly how to build a dependable lighting plan that fits your work.
Table of Contents
- Essential Tips for Choosing Agricultural LED Floodlights
- Detailed Step-by-Step Process to Set Up Reliable Farm Lighting
- Where LED Floodlights Deliver the Biggest Gains on the Farm
- Installation Checklist and Durability Considerations
- What Farmers Say After Upgrading Their Work Lighting
- Summary & Takeaway
Essential Tips for Choosing Agricultural LED Floodlights
When you buy lighting for farm work, the goal is simple: clear visibility where you need it, when you need it. Not every light is built for dust, vibration, or sudden weather changes. Use these tips to narrow your choice fast.
- Pick the right brightness for the job: For wide-area tasks, you need broader coverage. For close work near machines, prioritize a beam that fills the space without leaving harsh shadows.
- Choose a beam pattern that matches your layout: Look for flood-style coverage for yards and lanes, and a controlled spread for barn bays so you reduce glare.
- Check rugged build details: Durable housings, impact resistance, and sealed construction help lights survive vibration and washdown environments.
- Prioritize stable power and efficient heat management: Efficient LEDs waste less energy and stay more consistent over long work sessions.
- Plan for smart placement: The best light is the one aimed correctly. A small angle error can mean glare or dark zones.
If you also want lighting for moving equipment, you may like to pair floodlights with purpose-built work lights. For example, browse LED work lighting for options that complement fixed yard illumination.
Sketch beams across a field: wide coverage
Detailed Step-by-Step Process to Set Up Reliable Farm Lighting
Once you choose the right products, installation decides your results. Use this simple process to create dependable visibility for agricultural tasks.
1) Map where you lose visibility
Walk the area at work time. Note dark corners, steps, loading zones, and spots where dust reduces visibility. Mark angles that match your usual working positions.
2) Estimate coverage needs
Think in zones. Yard lanes often need broader coverage, while barn bays may require tighter placement to keep light useful and glare manageable. For tasks like inspection, feeding, or equipment prep, ensure you can clearly see surfaces and safe footing.
3) Select mounting points you can trust
Choose locations that reduce vibration impact and keep the light protected. Mounting height matters: too high can wash out detail, while too low can create shadows from people and machinery.
4) Aim for uniform light, not just bright light
Adjust the angle so the beam lands where you work. If you can, test while standing in the typical working stance. Look for shadow lines around tools, gates, and steps.
5) Manage power and wiring safely
Use weather-appropriate cable routing and secure connections. Keep cables away from moving equipment and points where they might be pinched during maintenance. If you are unsure, consult a qualified electrician.
6) Add an operating plan
Turn lights on before you begin. That habit helps you identify obstacles sooner and supports safer, smoother workflows.
To see how durable lighting systems can support farm routines, it can help to review related farm lighting guides on the site, such as brighten every acre with durable tractor work lights.
Checklist icons: weatherproof, sealed, aimed, tested
Where LED Floodlights Deliver the Biggest Gains on the Farm
LED floodlights for agricultural tasks are most valuable when you need reliable visibility in busy, high-contrast environments. Here are common use cases where farmers typically see fast improvements.
Yard and lane safety
Driving to storage, moving between sheds, and managing deliveries all require clear sightlines. Flood-style lighting helps you spot potholes, uneven ground, and obstacles early—especially during dusk, fog, or cloudy weather.
Loading bays and trailer work
Loading is where time matters and mistakes cost money. Bright, even lighting helps you see correct placement, check tie-down points, and handle materials with less guesswork.
Barn and workshop visibility
In barns, you may work around feeding systems, maintenance tools, and indoor storage. Proper floodlighting makes it easier to inspect surfaces, locate parts, and read labels without leaning or straining.
Equipment inspections and repairs
When something goes wrong, downtime hurts. Strong LED illumination supports faster troubleshooting because you can examine wear areas and fasteners clearly. The more consistently you see the problem, the quicker you can fix it.
Perimeter monitoring during late tasks
Even if your main goal is work, better lighting can also support general monitoring. A well-lit perimeter makes it easier to notice animals, equipment movement, and unexpected hazards.
Many farms succeed with a layered approach: fixed floodlights for the work area plus vehicle lighting for road and machine movement. If you are building a full farm lighting plan, explore LED spotlights for targeted beams in addition to broad-area flood coverage.
Installation Checklist and Durability Considerations
Farm work is rough on equipment. A great light must handle vibration, dust, rain, and temperature swings. Before you finalize your setup, run through this practical checklist.
Check weather sealing and resistance
Look for lighting designed to resist dust and moisture. Sealed construction helps reduce the risk of internal failures and keeps brightness consistent over time.
Stabilize the mounting structure
Loose mounts can cause shifting beams. Tighten hardware properly and choose brackets or surfaces that remain stable. If your structure flexes under wind or vibration, address that issue before aiming the light.
Use correct aim angles
Aim for functional visibility. Avoid aiming straight toward areas where glare can affect drivers or neighbors. When possible, test different angles to achieve a smooth spread over the work zone.
Plan for cleaning and maintenance
Dirt and dust reduce light output. Include light cleaning in your routine. Use appropriate methods that won’t damage protective covers.
Protect wiring from farm hazards
Route cables to avoid areas where equipment passes. Use secure channels where needed, and verify that connections are protected from water ingress.
Confirm safe operation
Run lights in typical conditions. Watch for flicker, overheating, or unusual behavior. If anything seems off, stop and have it checked.
When you treat lighting as part of your farm system, it performs like one. You get more usable light, fewer interruptions, and smoother workdays.
What Farmers Say After Upgrading Their Work Lighting
Farmers often tell a similar story: once the lights are right, the work feels easier and safer. Here are realistic themes based on common experiences from people who upgrade their illumination.
Testimonial theme: clearer visibility reduces mistakes
Many users report that better beam coverage makes it simpler to line up tasks like loading and inspecting equipment. When the work area is bright and evenly lit, they spend less time repositioning and double-checking.
Testimonial theme: consistent brightness supports longer work sessions
Another common point is performance over long evenings. Efficient LED lighting helps maintain steady output so tasks stay easier, even after hours of continuous use.
Testimonial theme: rugged design holds up in real conditions
Farm lighting needs to survive vibration, dust, and weather exposure. Customers often value designs that stay intact and readable in dusty bays, windy yards, and seasonal downpours.
If you want a second layer of visibility for mobile work, pairing floodlights with other lighting systems can help. Consider vehicle-ready options from LED work lighting to match fixed yard illumination with machine performance.
Summary & Takeaway
Choosing LED floodlights for agricultural tasks is about more than brightness. It is about building a work environment where you see hazards earlier, complete tasks with fewer interruptions, and keep equipment handling safer.
Use the selection tips to match coverage to your areas, then follow the setup steps to aim correctly and wire safely. With a thoughtful plan, you can extend productive hours and reduce the stress that comes from poor visibility.
Ready to upgrade your farm lighting? Explore durable options at LED lighting solutions and build a setup that fits your workflow today.
Disclaimer
This article is for general informational purposes only. Lighting performance depends on installation, mounting angle, layout, and environmental conditions. Always follow manufacturer instructions and consult a qualified professional for electrical work. No guarantees are implied regarding results.
Q&A
What should I look for first when buying LED floodlights for agricultural tasks?
Start with the coverage you need. Choose a flood-style beam spread suited to your yard or work area, then confirm rugged build quality for dust, vibration, and weather. After that, consider mounting height and aiming so the light lands where you work.
Can I install farm floodlights myself?
If you have electrical experience and can follow local regulations, you may be able to handle parts of the installation. However, wiring and connection work should be completed safely. When in doubt, hire a qualified electrician to avoid hazards.
How do I reduce glare while improving visibility?
Aim the lights with attention to where people stand and where vehicles travel. Use controlled placement and adjust angles until the work zone is bright without blasting light into sensitive sightlines.
How often should I clean outdoor farm lighting?
Clean on a routine schedule that matches your environment. Dust-heavy farms may need more frequent cleaning to maintain output and reduce haze from dirt and debris.
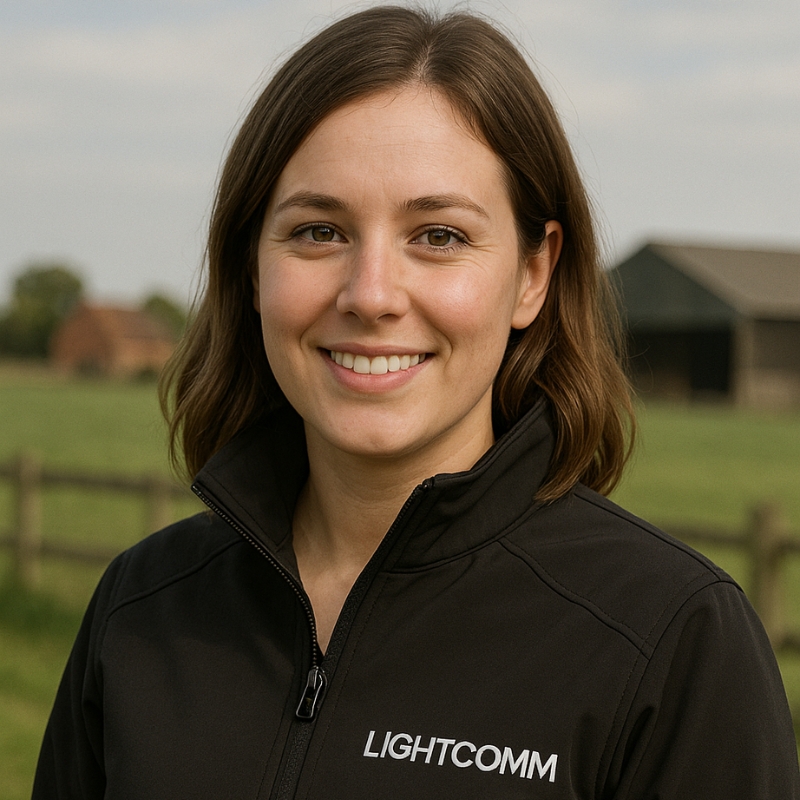
Orla Murphy writes for Lightcomm.ie, where she mixes farm life, tech talk, and a healthy dose of caffeine. When she’s not testing new lights or chatting with farmers, she’s probably wrangling her dog out of a muddy field or trying to convince her neighbours that radios are still cool.